DIY Kite Making: A Step-by-Step Guide to Creating Your Own Masterpiece
Are you tired of buying kites that don't quite meet your expectations? Do you want to create a unique and personalized kite that reflects your personality? Look no further! In this article, we'll take you through a step-by-step guide on how to make your own kites using different materials.
Key Takeaways
- Choose the right material for your kite, such as silk, nylon, or plastic.
- Design your kite's shape and size according to your preferences.
- Use a sturdy frame to support your kite's structure.
- Add a bridle and tail to stabilize and decorate your kite.
- Test and adjust your kite before flying it.
Materials Needed
| Material | Description |
|---|---|
| Silk or nylon fabric | For the kite's sail and tail |
| Sturdy sticks or rods | For the kite's frame |
| String or twine | For the bridle and tail |
| Glue or tape | For assembling the kite |
| Ribbons or decorations | For adding a personal touch |
Designing Your Kite
Before you start making your kite, take some time to design its shape and size. You can draw inspiration from existing kites or get creative and come up with your own unique design.

Consider the following factors when designing your kite:
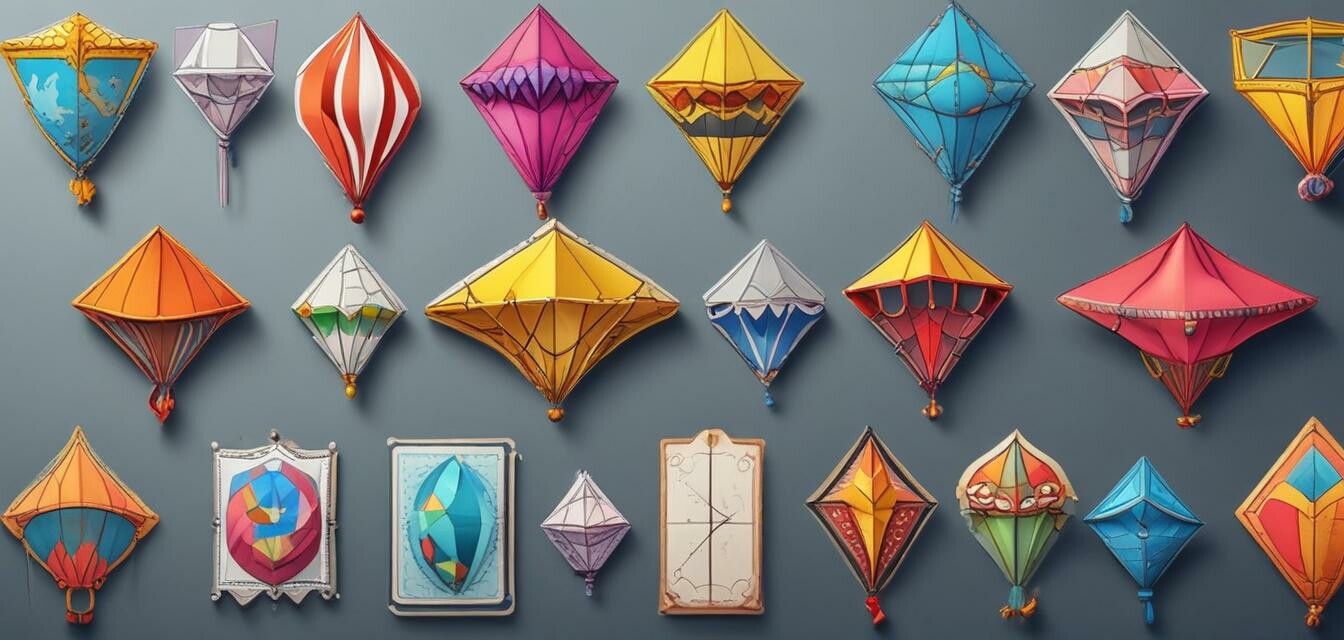
- Shape: Diamond, delta, or box-shaped kites are popular options.
- Size: Larger kites are more stable, but smaller kites are more agile.
- Material: Choose a material that suits your design and flying conditions.
Assembling the Kite
Now that you have your design and materials ready, it's time to assemble your kite. Follow these steps:
- Cut out the sail and tail from your chosen material.
- Assemble the frame using sturdy sticks or rods.
- Attach the sail and tail to the frame using glue or tape.
- Add a bridle and tail to stabilize and decorate your kite.
Testing and Adjusting
Before flying your kite, make sure to test it in a safe and open area. Check for any defects or imbalances and make adjustments as needed.

Some common issues to look out for include:
- Unbalanced kite: Adjust the bridle or tail to achieve stability.
- Tangled strings: Use a swivel to prevent tangling.
- Poor wind performance: Adjust the kite's angle or try a different material.
Tips for Beginners
Start Small
Begin with a small kite to get a feel for the design and assembly process.
Practice Makes Perfect
Don't be discouraged if your first kite doesn't turn out as expected. Keep trying and experimenting until you get it right.
Join a Kite-Making Community
Connect with other kite enthusiasts through online forums or local kite clubs to learn new techniques and get inspiration.
Conclusion
With these step-by-step guides and tips, you're ready to start making your own kites. Remember to be patient, creative, and persistent, and you'll be flying high in no time!
For more kite-making inspiration and resources, check out our Kid's Kite Collections or Kite Accessories pages.

Pros
- Customizable design and material
- Cost-effective compared to buying kites
- Develops creativity and problem-solving skills
Cons
- Requires patience and time
- May require some trial and error
- Limited durability compared to commercial kites


